ABOUT THE PHOTO:
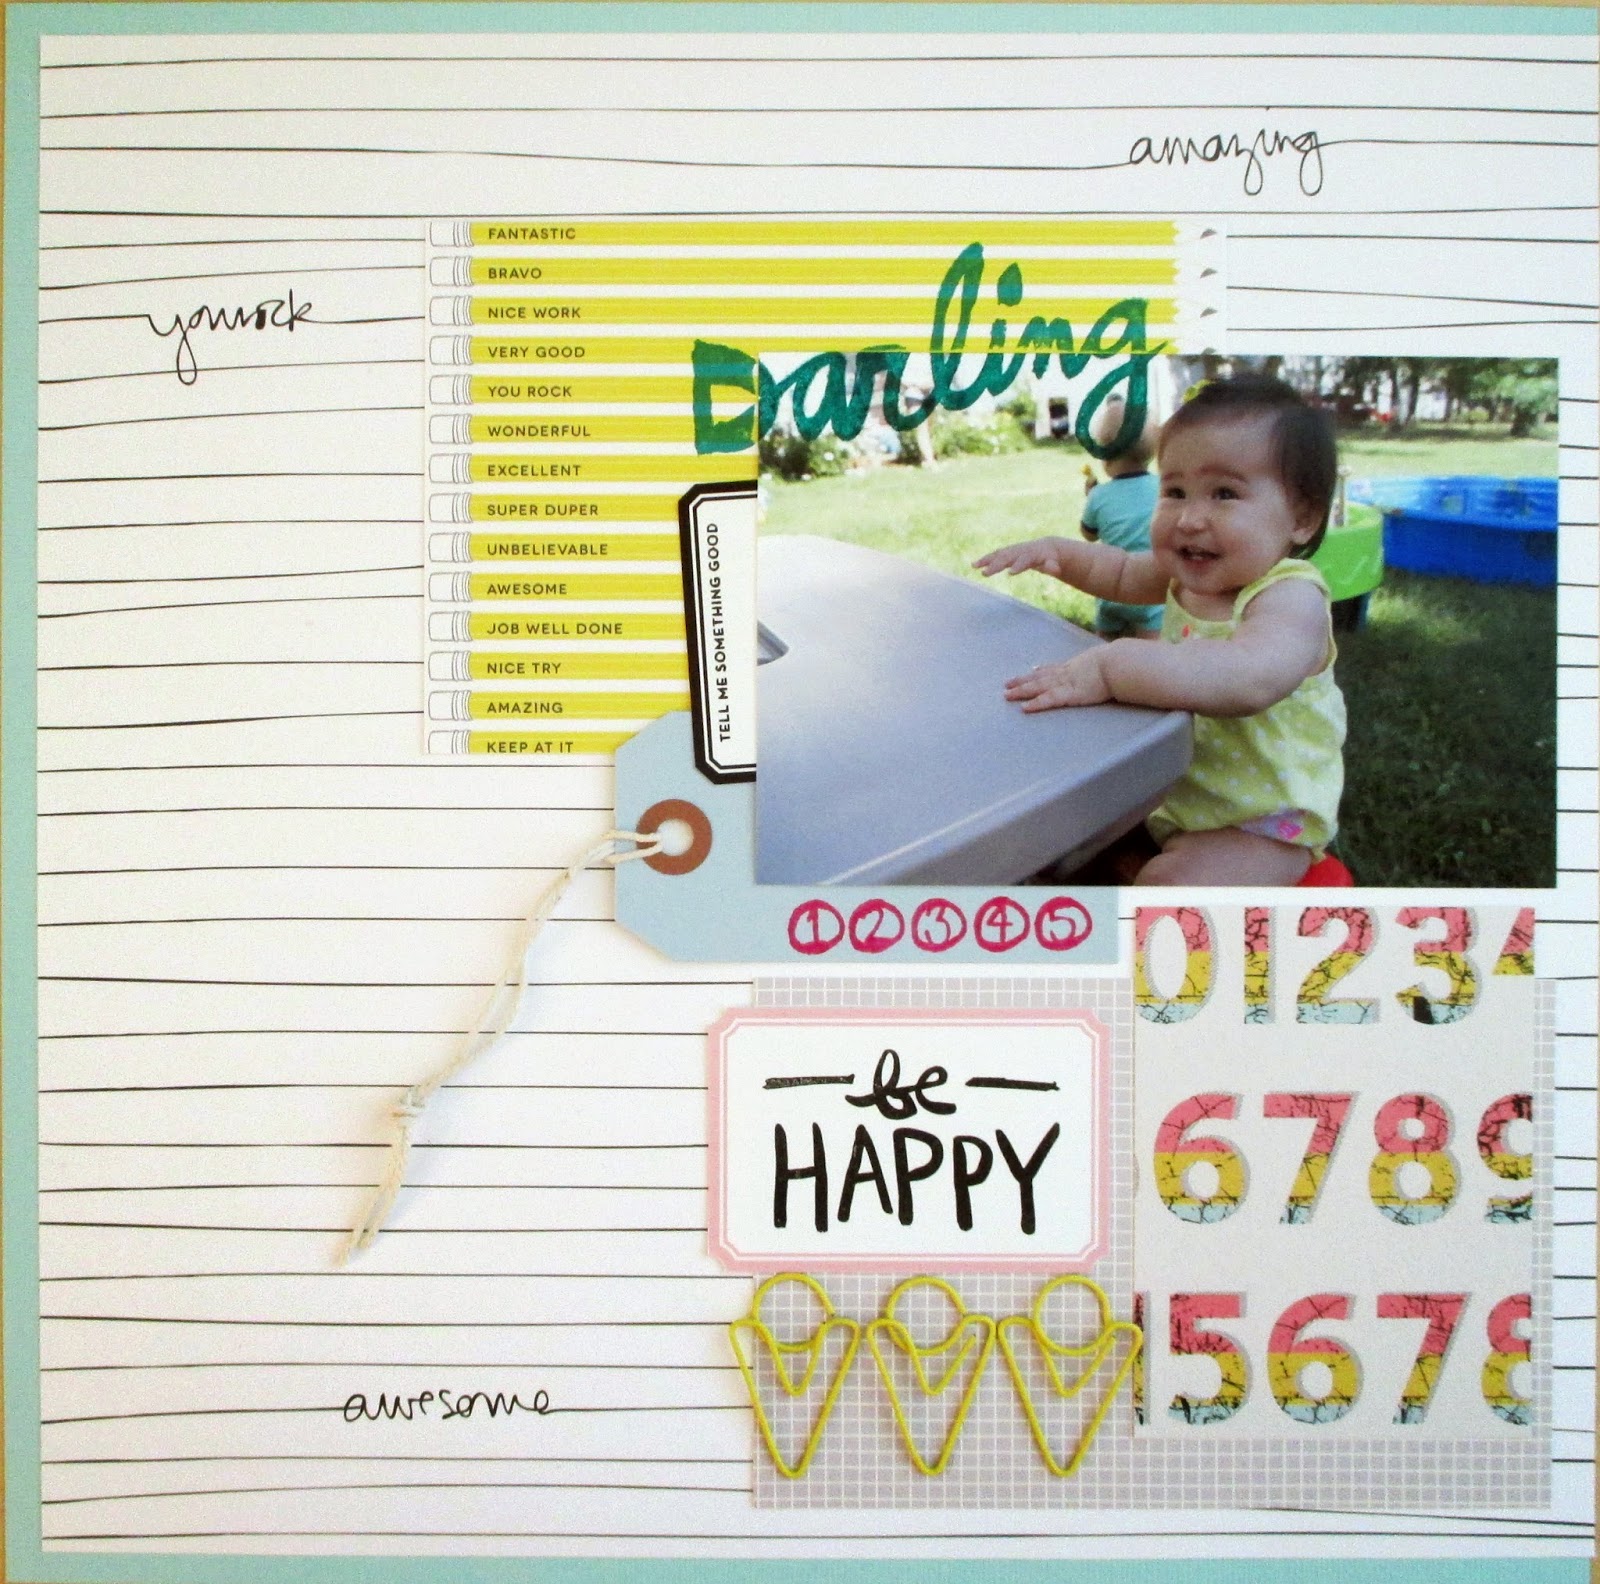
A few days before Natalie's 1st birthday, I had her sitting outside and gave her a rice cake to try! She nibbled it, mostly sucked on it till it became soggy and gross and I think I tossed it. Later I gave her another one and she bit off a chunk that was too big for her and threw up. ANYWAY, I used this photo for her little birthday message on Facebook and joked how for her birthday she could have a piece of cake... a rice cake that is!
LAYOUT DESIGN:
I was reading Cathy Zielske's blog and she reminded "us" that her digital downloads were on sale for one more day at DesignerDigitals.com. Since I've been meaning to try and follow along with her layouts and buy one of her layered templates for a hybrid page for awhile, I went for it... and bought 6! So this one I chose for this layout is older but perfect for a page about Natalie's 1 year old stats!
MY PROCESS/PRODUCTS USED:
I had already printed out my photo 5x7 so I adjusted the template a bit to make room for the wider photo. This was a page for 8.5x11, but since this is going in Natalie's album and I don't like mixing page sizes, I adhered to a sheet of paper from the Brighton Pier collection from Studio Calico. I also used a piece from that collection to cut out the strip with the numbers on it. I used a few wood veneer pieces from the Lemon Lush collection also by Studio Calico. This layout was fun and easy to make, but very unlike my usual style with a lot more embellishments! I like this page though, because I really wanted to include all the stats in the journaling and have that stand out! I was very pleased with the templates I purchased, Cathy includes a wonderful pdf with each template that explains the fonts she used (and links when available), and other information and tips for the template! Can't wait to try the next one!
Showing posts with label baby layout. Show all posts
Friday, September 26, 2014
Sunday, September 21, 2014
Come Back
ABOUT THE PHOTO(S):
OK, so our girls didn't exactly want to sit and smile for the camera - so these were the best shots we got! Natalie was especially upset that I wouldn't "walk her" where she wanted to go, but luckily now she can walk without me finally!
LAYOUT DESIGN:
I used another older sketch template from the Simple Scrapper, this time for the Stash Bash event going on right now there!
MY PROCESS/PRODUCTS USED:
This is my 4th layout using the Sandlot kit from Studio Calico - I just got the main scrapbook kit and the matching 4x6 pad of paper, and I think I am done using it and ready to move onto this past month's kit before the next one shows up! Thanks for stopping by!
Tuesday, September 16, 2014
Oh Girls!
ABOUT THE PHOTO(S):
Natalie's friend came to visit us and we were so excited... the girls? Not so much... at least not when we were trying to take their pictures!
LAYOUT DESIGN:
I used an older sketch template from the Simple Scrapper (May 2013) to complete this layout and it came together within an hour once I had the photo printed and the template selected!
MY PROCESS/PRODUCTS USED:
I used just the Sandlot scrapbook kit from Studio Calico. Thanks for stopping by!
Monday, August 11, 2014
Be Happy
ABOUT THE PHOTO(S):
This should've been my first indication that Natalie loves to sit, though I didn't fully realize it till a few weeks later when she sat contentedly in a little chair for 45 minutes at her buddy's birthday party! This was from a play date at her other little girlfriend's house :)
LAYOUT DESIGN:
I used a sketch template from the Simple Scrapper this month, another one based on a layout by Jamie Leija! This one was a 2 pager and I ended up using just one side and was perfect because I bought the 4x6 pad of paper from Studio Calico this month to go along with the Sandlot kit!
MY PROCESS:
So this week I caved and gave up on my CD cases for storing stamps and was able to quickly throw all my latest stamps into 6x8 PL page protectors! It was so quick and easy, even with my backlog going back to January of this year! I bought a Becky Higgins 6x8 PL album from Michael's (on sale for $8.99) and voila, done. So with that in mind I decided to use some of my now organized stamps! I even went as far as to dig up some of those old paper ice cream cone paper clips that were part of February 2013 Front Row kit!
Tuesday, July 29, 2014
Love
ABOUT THE PHOTO:
Natalie and her little buddy from church who is 3 weeks older than her just really seem to get along great whenever we have a play date! They are so cute together!
LAYOUT DESIGN:
For this layout I used an older sketch template from January 2012 from the SimpleScrapper.com (the premium membership gives you access to all the past archives)!
MY PROCESS/PRODUCTS USED:
I dug right into the newest collection from Studio Calico, Brighton Pier! I just love those papers! I also mixed in a few items from the Penny Arcade SC kit this month. I kept it simple, so I will probably add the date and some journaling to the back before it goes into Natalie's 2nd completed album!
Saturday, July 12, 2014
CCW Babies
ABOUT THE PHOTO(S):
This is what 4 babies on a hot day looks like when they are each ready for a nap and not feeling like smiling for a picture haha!
LAYOUT DESIGN:
Originally I had something else in mind completely, but when I started picking out papers to use, I came across this happy cloud paper from the most recent Studio Calico kit, Penny Arcade and I just thought it looked so funny in contrast to the picture of 4 miserable babies, none of whom are smiling haha! So I couldn't resist using it!
MY PROCESS/PRODUCTS USED:
I didn't want to cover too much of that paper, so I cut out the cloud using this cut file by Geralyn Sy, on my Silhouette Cameo. I went around the edge of it with a black pen to stand out, and backed it with pink paper and actually I cut out a piece of the cardboard backing from the 4x6 pad of paper I bought with this month's kit! I sewed the lines with a light silver colored thread and added the metallic stars from an older kit.
Tuesday, July 8, 2014
Funny Girl
ABOUT THE PHOTOS:
Just some quick snapshots I took of me and Natalie playing (the same day as the last layout at 9 months old)... she was being funny sticking her tongue out whenever I did and just being her silly self (when she's not hungry or ready for a nap of course)!
LAYOUT DESIGN:
I used a sketch template from this month from the Simple Scrapper. If you are a premium member of SimpleScrapper.com, you get 5 new sketch templates each month plus access to download all the archived ones! I am definitely getting my money's worth from the membership - I save lots of time trying to plan out my layouts and can get right to work and lately I've been able to start and finish a layout in under 2 hours!
MY PROCESS/PRODUCTS USED:
I dug a little more into the latest Studio Calico kit, Penny Arcade, except for the background piece of paper was a lighter blue from a previous kit. I used the 4x6 add-on pad of paper to get the pieces for layering so I didn't have to cut into my 12x12 sheets yet. This definitely helped me go for this layout without hesitation. Sometimes if a layout I want to do needs lots of smaller pieces of paper, I will wait towards "the end" of the kit, but this let me not worry about that! This isn't my favorite layout, but I really like the way it looks next to my previous layout in my album.
9 Months
ABOUT THE PHOTOS:
This was Natalie at 9 months old, almost 2 months ago! I should've mentioned in the journaling that she is wearing her buddy's shirt because the night before she screamed all the way to church and puked all over herself and I stupidly didn't pack an extra set of clothes for her in the diaper bag. Luckily her friend let her borrow that shirt and the next day I took some pics before she got her much-needed bath.
LAYOUT DESIGN:
Anyway, I basically did almost a straight up scraplift/copy of this layout by Gillian Nelson! I loved her layout, especially how simple it was, but so uniquely her, that I decided to try to make it uniquely mine haha!
MY PROCESS:/PRODUCTS USED:
I used this cut file by Paige Evans for Studio Calico and basically just cut the 6x8 background file into a square - about 6x6, then cut it out of white card stock. I used the latest SC kit, Penny Arcade that arrived at my doorstep on July 3rd! Perfect for some holiday weekend scrapping!
My New Ride
ABOUT THE PHOTOS:
Natalie's grandma brought over this riding toy zebra, so Chris put it in the front lawn where we were sitting. The first thing she did was climb up and stand on it with her feet on the seat haha!
LAYOUT DESIGN:
I used another older sketch template from the Simple Scrapper, because I had already printed my photos 4x6 and 2 at 3x4 and was sort of stuck on how to lay them out till I saw this one from the archives!
MY PROCESS/PRODUCTS USED:
I used the Hello Hello kit from Studio Calico, except for the background piece of paper which was a piece from Amy Tan's original collection Amy Tangerine by American Crafts - I went to my stash because I wanted a neutral grayish piece, but didn't want a plain card stock.
Tuesday, July 1, 2014
Love Us
ABOUT THE PHOTO:
I love this photo because having my 91 year old grandma over to help celebrate my first Mothers Day was so special! Another pic of 4 generations all together :)
LAYOUT DESIGN:
I used an older sketch template from March 2013 by the Simple Scrapper Jennifer Wilson. For this one I had printed my photo 4x6 first, then looked for a sketch to use, so looking through the Simple Scrapper archives that come with the membership proved valuable once again!
MY PROCESS/PRODUCTS USED:
I used Studio Calico's June kit, Hello Hello but knew I wanted to use a neutral background. I selected a piece of Kraft card stock and added some mist to help it not look so flat. I used Mister Huey's in Clay and White to keep it subtle, and also used a couple of older butterfly misting masks. I haven't pulled out those masks in awhile! I kept the embellishing to a minimal as well and just added some cut out birds from one of the pieces of paper. I started and finished this layout in an hour and a half, woohoo!
Saturday, May 31, 2014
My 1st Mothers Day
My first Mothers' Day!! Fittingly, I woke up to Natalie throwing up on me at 6am :)
This layout came together really quickly yesterday, once I decided to use the last sketch template for May from the SimpleScrapper.com! The sketch used a 3x4 photo, so I swapped one of the layers behind it that was a 4x6 so I could print my photo 4x6 and use that instead!
I decided to find an old Studio Calico kit to use since I have used up most of Bluegrass Farm and Camelot now, so I went back and chose last May's kit, Planetarium! I chose that one specifically because generally all the "May" kits sort of go with May photos. I was able to use a whole pack of those banner clip embellishments and then I added some tags and found a doily and some letter stickers and really came together very fast!
Wednesday, May 14, 2014
Take Note
Here are a couple more pictures right before Natalie turned 8 months old and since I didn't have any good pics from the actual day, I decided to make this layout her official list of things she can do at 8 months old!
I used a sketch template from this month at SimpleScrapper.com to print my photos at 3x3 and 4x3 and complete this layout! I specifically really enjoyed Kim Kalil's layout as inpsiration from p. 24 of Spark Magazine from the Simple Scrapper as well!
I used papers from this month's Camelot kit by Studio Calico, but the wood veneer and the patch are from their Bluegrass Farm kit from last month. I also used some older fabric washi tape I think I purchased from TwoPeasInABucket.com or maybe directly from Freckled Fawn? I cut the little mason jars from one of the patterned papers this month and the journal card came with the Process class kit with Catherine Davis over at BigPictureClasses... phew! Now that I am a stay at home mom and really need to cut back on what I am spending on scrapbooking supplies, you will notice I am trying more at mixing in my stash and older products or mixing up items from different kits! It has been really nice actually to do this, BUT sometimes takes up more time! Because I have SO much paper, I am going to try to stick with the same kit for papers and then pull embellishments from wherever.
I am really enjoying my membership at the Simple Scrapper! It has helped me be thoughtful of how I am spending my time and really trying to utilize it better overall. For example, today I posted to the Facebook community page, a photo of my twine all entangled in knots when all I needed was that small piece for the wood veneer. Instead of spending 20 minutes right then detangling the knots like I really wanted to do, I decided I could do that later and should spend my time while I had it (while my DD was napping this morning) to work on my layout and maybe I can detangle while she is awake later or something! It helped a lot and today during her second nap I finished up this layout and now am finishing up this blog post - yay!!
Wednesday, May 7, 2014
Hello.
Sometimes it's fun to get out the nice camera and change the angle of your photos... this was fun to do with Natalie, because her cheeks and double chins are so cute and emphasized with this angle!
I was planning to use the first sketch from Kelly Purkey's Sketchbook class going on right now at Studio Calico, so I printed my photo 5x7 and was going to center it more and add layers underneath it. But instead I got inspired by Maggie Massey's take on the sketch and moved my photo to the very edge (top) of the page.
From there I decided I really wanted to use that pretty pink tulle that came in this month's Camelot kit by Studio Calico, so I added some light adhesive and laid it down then sewed over it with gold thread. I added strips down the page and then embellished a little on top - super easy and this came together all during Natalie's morning nap, another 2 hour nap yay!
Mommy & Me
Our first workday at home together was awesome - Natalie slept 2 hours in the morning and got the day off right! She had some tummy time and practice rolling around on the floor, ate some foods around 11am, and got out for a lovely walk at lunch! She was in a great mood and didn't cry once! It was the perfect first day together!
I used a sketch template for this month from the SimpleScrapper.com but had some trouble deciding what papers to use and after having adhered most of my grid down onto white grid paper, I cut it up and re-adhered to the green background. That is my style - patterned background paper... try as I might to use plain card stock, and I always struggle to make it look complete to me!
I added some of the Amy Tangerine Plus One puffy stickers and some older wood veneer birds and called it a day!
Saturday, May 3, 2014
NSD - First Layout!
Happy National Scrapbook Day! My husband is upstairs watching the baby this afternoon so I can participate and get some uninterrupted scrappy time in! Here's a photo of me and Natalie at my friend's surprise sprinkle shower - Natalie showed up at the end, missing a sock and super hungry haha!
I used a sketch from SimpleScrapper.com from April to complete this layout with my photo printed 3x4. Having the sketch template made it so easy to choose what size to print the photo and just start picking things out.
I used a 6x4 card from the Stitched class and stitched the arrows with gold thread. I used paper and pieces from the Bluegrass Farm kit at Studio Calico, as well as Office Hours kit, Pip Add-on kit, and some older Dear Lizzy collection plus a card cut up from February 2013 (Roundabout kit?). So it was definitely an amalgamation of supplies! Happy scrappy day!
Sunday, April 27, 2014
Caught!
OK, I seriously caught my husband being bad by being on his iPad after I told him to play and engage with our 7 month old daughter, and my daughter was being bad by not playing with her learning toys and instead, choosing her silly, noneducational bath toy! Haha!
I used an older sketch from SimpleScrapper.com which is awesome that as a member we are given access to older sketch templates! It was for an 8.5x11 sketch, which I used here for a 12x12 page and a photo printed at 11x7.
I also used some ideas from the Stitched class with Paige Evans at Studio Calico, and stitched some journaling lines right onto the tag on top of the photo. Love this one!
True Story
Daddy had to take over and provide Daddy Daycare for Winter Storm Vulcan back in March. Natalie enjoyed it!
I used another sketch from this month from the SimpleScrapper.com, and mostly the printables provided by Studio Calico by In A Creative Bubble!
I used an Amy Tangerine heart stamp to stamp on the RAD title! This one was fun and easy to put together with the help of the sketch!
I used another sketch from this month from the SimpleScrapper.com, and mostly the printables provided by Studio Calico by In A Creative Bubble!
I used an Amy Tangerine heart stamp to stamp on the RAD title! This one was fun and easy to put together with the help of the sketch!
Saturday, April 19, 2014
Cousins
Oh Natalie was still unsure about being away from Mama too long last month when these photos were taken of Natalie and her cousin - haha love that first photo... that face is too funny!
I used a sketch template from SimpleScrapper.com and didn't see that they provided a link for the free circles cut file, so I made my own! I took the layer of the template with the circles in Photoshop Elements and duplicated it into a new project. Then I filled it in with black and exported as a .jpg that I imported into the Silhouette software, traced it, and boom - new cut file!
I also used the template to add my photos to and see how they looked, size them and print them as circles so I wouldn't have to crop them myself. I mostly used the Office Hours kit by Studio Calico, but found that I had only 3 of those plastic butterflies left from the Sugar Rush kit so actually got to finish a full package of embellishments and throw away the packaging - that felt so good!
Sunday, March 23, 2014
Loved
I guess this layout is proof that Natalie is my first child. She gets her picture taken just for looking cute while laying on the floor. Then she gets a whole page scrapped with said picture!
Last night Chris went out to get me my favorite snack: Lays brand potato chips & Helluva Good french onion dip! While he was out, I started this layout and finished it not long after he got home - so it was just a very quick layout (my favorite kind)!
I trimmed a white piece of card stock 4" wide and added it along the side to break up the pretty, but busy floral pattern on the paper. I used the Office Hours kit by Studio Calico to complete this layout, except the edge of the gold doily from my stash... sadly I actually pulled that edge piece out of the (top of my) scrap garbage can, leftover from my previous project. Wow, that was so Chris-esque of me haha :)
I knew I wanted to use those gold labels by Maggie Holmes' so incorporated those along the edge instead of trying to do some border between the pieces of paper. I adhered those little plastic floral pieces with my Martha Stewart glue pen, and added the little digital label by Hello Forever that I printed and cut at home. As a side note, I printed this photo from my phone to my printer wirelessly from bed one day... I love how lazy technology lets you be haha!
Monday, March 17, 2014
My Accomplishment
Every morning I get a few hours of alone time with my baby before my workday begins - how awesome is that!? I get a few hours to feel how it might be to be a stay-at-home mom... aka, not much gets done around the house. I focus all my effort and energy on her but since it is just me and her, she (and I) can get bored kinda quickly... hence the pics I took one morning for this layout :)
Anyway, I finally got to dig into my March kit, Office Hours, by Studio Calico for this one! I knew for my first layout I wanted to use that awesome scalloped patterned paper so I specifically chose these colorful photos to go with it!
I bought the Hello Forever printables that went with the kit. Originally I was going to put a number under each part of the picture, but it was looking too rigid and obvious, so I used the one over a wood veneer circle and the rest I put in the corner. I stitched a little heart into one of the wood veneer circles and stamped the Hello onto paper and punched it out and added to another wood veneer. I used the new Color Theory ink pad for it... and uh oh, loved the dye ink and how rich it stamped! Might have to pick up a few more of those! Thanks for stopping by today!
Subscribe to:
Posts (Atom)