Showing posts with label my baby. Show all posts

Monday, December 22, 2014

December Daily: Days 6-18

Let's talk December Daily, shall we? I have been quiet on my blog about it, because I've been so busy trying to keep up with it and not spending everyday photographing, editing pics of my layouts, and updating my blog! I am behind by 3 days now, but still up to date with photos taken + printed! I think it is much easier to "catch up" when I have fallen behind here and there when my photos are already printed and in their pockets (with papers selected at least) - then I can just get started!

Anyway, so I took some pictures this morning, but they're still pretty glare-y. I've been posting as I go to my Instagram: ScrapperEmily, which may or may not have better photos.

Day 6:
These may be my favorite photos this month so far, ahhh look how cute Natalie is in her coat, hat, and boots!! Oh and yeah Chris finally strung up our lights. Nothing that awe-inspiring, but you can see I stamped under the tree and then added a star sticker to the one pocket.

Day 7:
Christmas on the Canal, and we brought Natalie's cousin! We talked about making this a new tradition, since this is the 2nd year in a row that we've gone - I really hope to see it throughout all my December Daily albums to come! I added silver phrase stickers and of course how cute is that polar bear from the Waldorf add-on kit this month at Studio Calico!

Day 8:
I basically cheated here and took a photo of the same thing three times, but kept zooming in to get a different shot each time! This was a great way to get more from only one photo really. I wasn't sure where to put my journaling so decided to just print it up on top of my photo along with a stamp brush from last year!
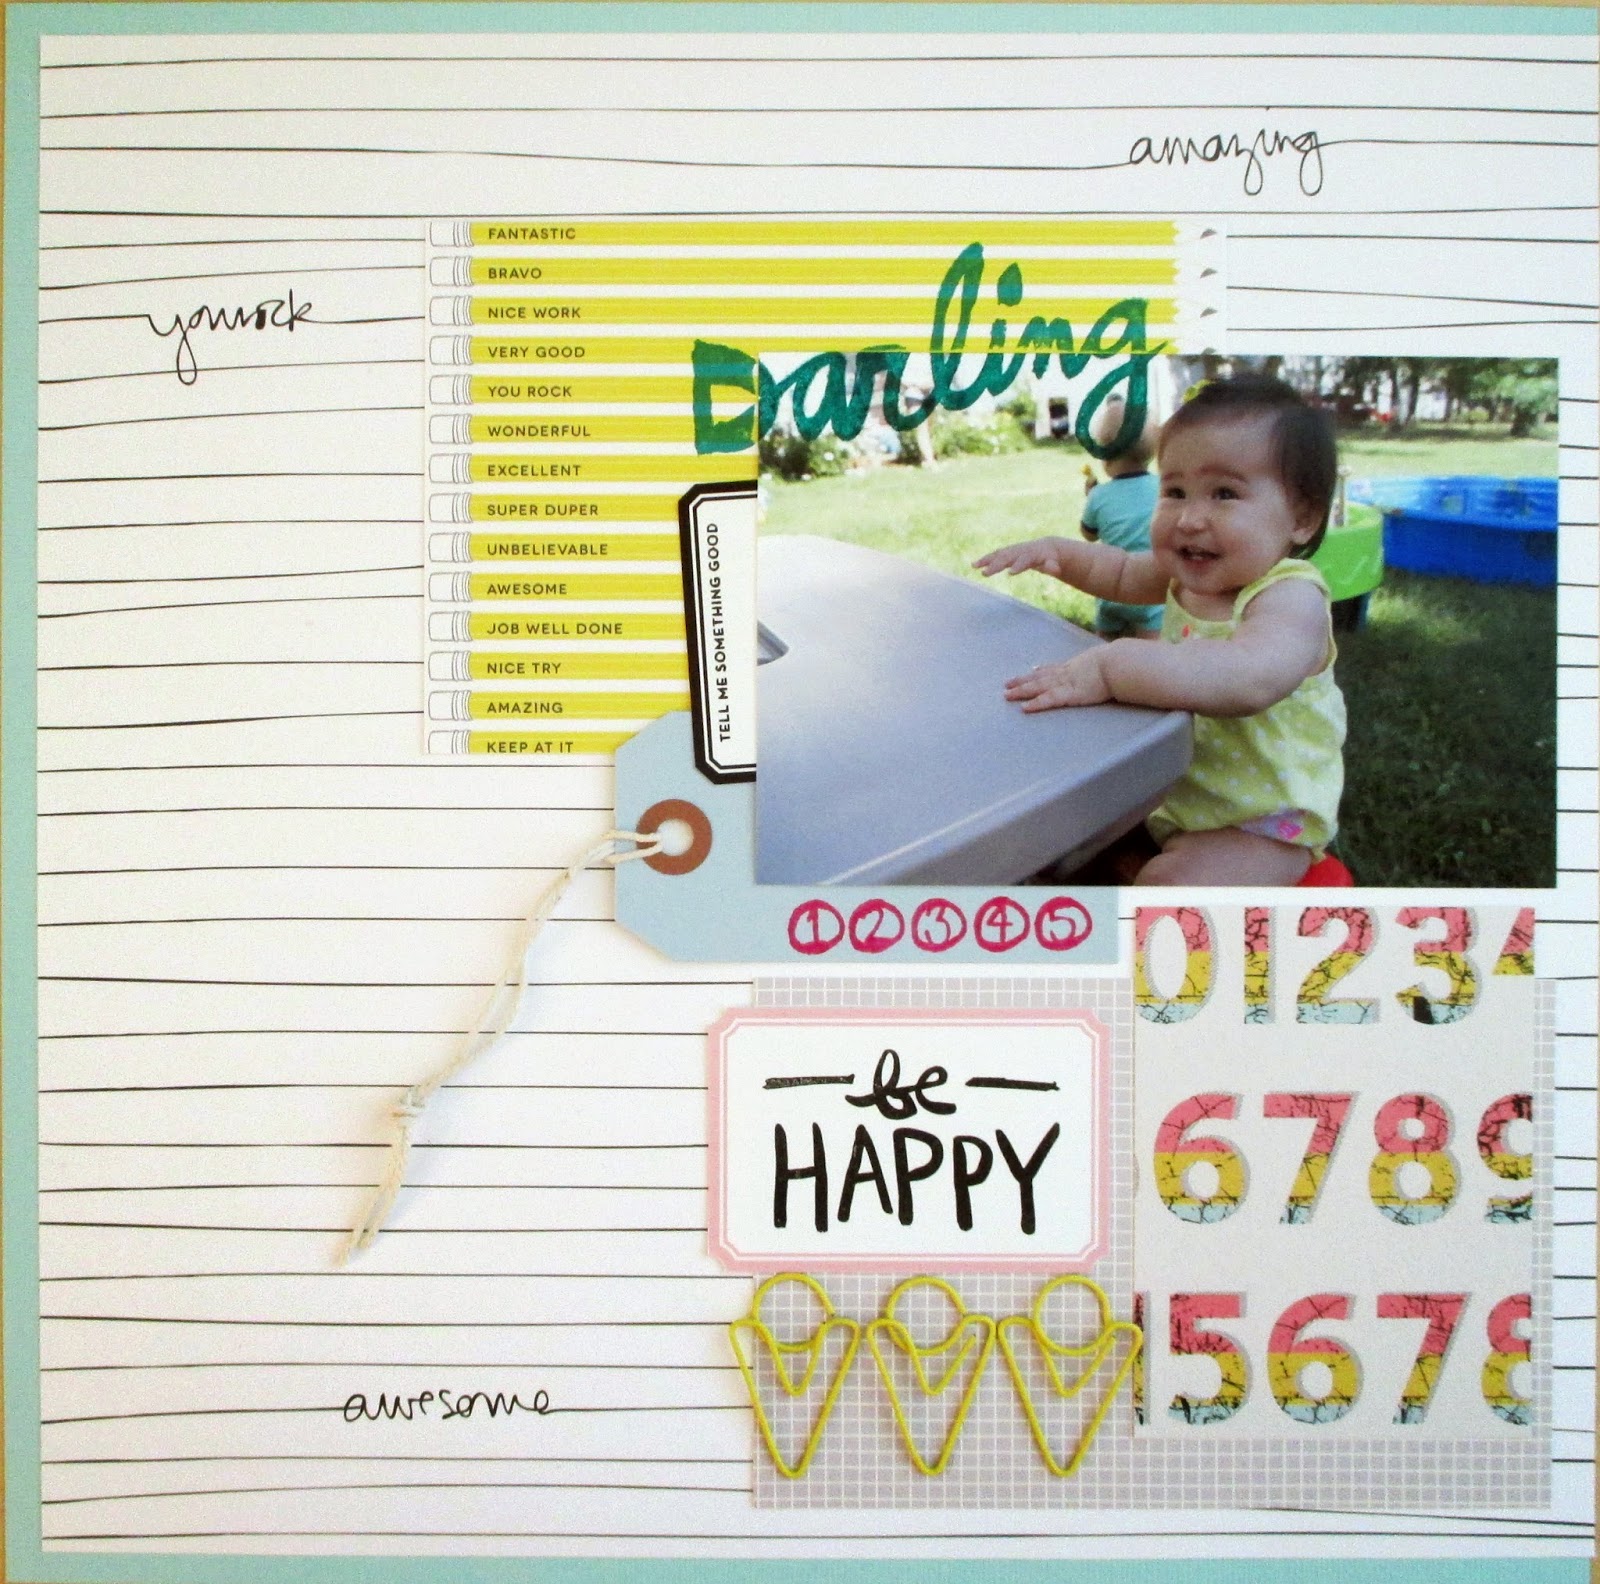
Day 9:
I had already decided to do something similar to Ali's page while building my foundation, so I knew I was planning to use that number paper. I was going to add a photo on top but instead chose not to and ended up doing the same thing as Ali with the journaling to the side. I like how this turned out! I added a little transparency flap with a tab just for a little extra something since that whole side didn't have any photos.


Day 10:
Another appearance by a stamp from the Waldorf add-on from Studio Calico in the form of the little owl! I kept pretty closely to my foundation page and the inks just happened to match my daughter's pants, bonus!

Day 11:
I grabbed a few photos from a ladies dinner we had at church from a friend's Instagram feed, since my pictures came out really blurry! I had a mishmash of cards for this one for the left side, since I pulled from a few different foundation page spreads. So I just added my journaling down the right side of the right page.

Day 12:
I was planning to do something similar to Ali's pages again, so used that wonky circles chipboard page, but ended up backing with transparency and just happened to realize the title fit perfectly, so I found some unused wood veneer letters from my stash and then went over them with white pen and outlined the circles with white pen so they would stand out a little better.

If you look closely at the picture I used for this side, there's a guy walking by in the background next to my husband, all blurry... it ended up being the perfect place for some journaling!

Day 13:
A really simple page - I used a digital stamp for the photo on the upper left and a simple outline in pen around the card on the lower left with a stamp. I just listed my daughter's favorite foods right now for the "All I want for Christmas" card and already have plans to use it again later in the album to list her favorite things to do.

Day 14:
Again just keeping it simple. I used some of the small white letter stickers that came in the kit to add "Jesus" to the top left card. Got my husband to snap some quick photos at church :) I bought the nativity cuts from the Silhouette online store and almost bought a scene that seemed to be missing the baby Jesus! Luckily I realized that was missing before I purchased that one and bought a different cut (there were quite a few to choose from) ha!

Day 15: (Natalie turned 16 months old)
She said "love you" and smiled for the camera when I said "smile" for the first times, awww! :) I think I can tell when I start to lose my creativity with December Daily... queue the use of gold glitter everywhere...

Day 16:
I didn't really have one nice photo to fit 6x8, trimmed or full page, so I used two crumb-y ones I got with my iPhone(4s) and added both. That stamp again :) I also had some other AE stamps from Technique Tuesday, so used that to stamp "Favorite Memories" next to the owl.

Day 17:
I went back and forth and finally decided to cut the word "December" from one of the 4x6 cards and trim it to fit across the 6x8 photo. One thing that's been helping me, photos-wise this year, is since I'm home during the day, taking pictures around the house of some decorations during the daylight. Even if I don't end up using them, I have backup in case I don't get anymore good ones, even on days we had planned to do stuff!

Day 18:
I decided it was time for another flap type element, so I used some gold stars vellum paper I had from last year, and trimmed it to 3.25"x12" then folded it in half so it would sit 3.25"x6" in the album. I added the E on the front for Ezra, Natalie's friend, and the N on the back for Natalie.

Here's the other side of the flap.

OK, so there's my update!! Hopefully next time I'm back, I'll have finished the album and can write up some conclusions!

Sunday, November 9, 2014

Hello Deer

ABOUT THE PHOTO/STORY:
I love that this photo looks like, ah nice fall day with Natalie at the park. But looks can be deceiving, in fact, Chris was feeling quite ill but he still offered to take me to the park to snap some photos of me after hearing me fret about not having a good head shot for the Simple Scrapper Creative Team!


LAYOUT DESIGN:
I used a Sketch template from the Simple Scrapper's Premium membership - something I've done quite a bit, but this is my first layout for the Creative Team; how fitting!


MY PROCESS/PRODUCTS USED:
I ended up printing up one large photo and wanted to make it look like a "window". Originally I was going to cut out the squares, but to save me a little work lining them all up perfectly, I just kept them on the photo paper and went with a piece of white card stock to hide it. I used some older leaves from Amy Tangerine and a gray tag I had in my stash. This was a fun one - I really love working with the sketch templates from the Simple Scrapper!


The Premium Membership at Simple Scrapper provides skills and shortcuts to help you simplify and find more meaning in your memory keeping.

Thursday, October 23, 2014

This Happened

ABOUT THE PHOTO:
A group photo - 17 kids + 8 moms (well 19 + 9 all together but not pictured), made it to the zoo! We had such a nice time and it was a nice, hot afternoon! One of the moms was getting pretty preggo, one mom had just given birth a couple weeks before, and I had to nurse Natalie in the sun in the middle of the outdoor eating area under a cover, wow!


LAYOUT DESIGN:
I basically just started with the piece of map paper from The Underground kit and went from there.


MY PROCESS/PRODUCTS USED:
I added a bunch of 4x6 papers from the paper pad that went with the kit and ended up just wanting to layer them across the page. I had another piece of book paper and finally cut into that beautiful vellum paper that came with the kit. I cut the (plastic?) diamond piece in two, slightly off center and added them to the outer edges of the paper. And finally the title I painted in brush script using goache paint on blank book paper and cut close out - I was going to use the foam thicker phrase that came with the Plus One kit by Amy Tangerine + Kal Barteski, but it was too big, so I basically tried to make it look with a similar style.

Love Now

ABOUT THE PHOTO(S):
You can't tell, but these photos were from a trip to the zoo in August with a bunch of our church friends. Natalie still needed help walking, though in a couple short weeks she was walking completely on her own! When Natalie still needed help though, that's when I came up with the idea to carry around my old work book bag instead of a diaper bag - to free up my arms so I could bend over and help her... SOOO glad she is walking now! I guess people who tell you "just wait till she's walking" as like a warning never had the pre-walking phase of wanting to walk just as much but needing them to constantly bend over and help them, because man it is so much easier now!


LAYOUT DESIGN:
So anyway! This layout came together super quickly once I printed the photos at an angle because I scraplifted this layout by Elizabeth Kartchner (Dear Lizzy)!


MY PROCESS/PRODUCTS USED:
I knew as soon as I saw that layout that that's how I wanted to use that pink piece of paper from The Underground kit! I love the simplicity and softness of the layout! I don't know why a lightbulb with a heart in it should go on the page, but it filled the space nicely and I loved that touch of gold!

Sunday, October 19, 2014

Bottle Babies

ABOUT THE PHOTO(S):
Natalie and her friend NEVER took bottles as babies, and yet now that they are "older" and saw their baby friend taking a bottle OF COURSE they had to have one too! They were making us laugh so hard walking around and tipping back their bottles!!


LAYOUT DESIGN:
I was going to start this layout completely differently, based on a sketch template from the Simple Scrapper, but I ended up changing it up after I really wanted to use that piece of paper from this month's The Underground kit by Studio Calico. So really that piece of paper is what drove the design.


MY PROCESS/PRODUCTS USED:
I cut along the parts of the paper where a "folder" would open and added lots of bits from Maggie Holmes' vellum die cuts. I used white Gouache paint (think: thick watercolor paint) to brush over the words on the book paper so I could use that space for journaling. It looks a bit messier than I would've liked but I didn't feel like getting out my paint stuff again (think: lazy). It's sort of a mishmash of supplies but a fun one!

Friday, October 10, 2014

All Week Long

ABOUT THE PHOTO(S):
It was VBS week this summer and I was helping out with the crafts so I had to leave Natalie in the toddler room at church, but the Lord was watching over us that week and blessed us with my friend and her daughter to help watch Natalie everyday! She even got the girls to take a nap everyday!


LAYOUT DESIGN:
I channeled my inner Melanie Louette and did a scraplift of her layout here! I hardly ever go "simple" but wanted a clean page to write my journaling how I was so thankful that it all worked out with Natalie!


MY PROCESS:/PRODUCTS USED:
I used papers from the 4x6 pad from this month's The Underground kit by Studio Calico with wood veneer from the shop and the wood veneer letters from this month's main scrapbook kit. I bought the black letter thickers at one of the LSS (Local Scrapbook Stores). Simple as that!

Sunday, October 5, 2014

Everyday

ABOUT THE PHOTO:
We made tie-dye tshirts with the kids at VBS, so a couple days later, we wore them and I even made one for Natalie! I finished this layout yesterday while Chris took Natalie to the store with him, woohoo!


LAYOUT DESIGN:
I decided to stamp my own background paper since I didn't recall having a piece that would really go with the photo (with all our colors). I knew I definitely wanted to capture the colors of our shirts though, so I didn't print in black and white. I used a sketch template from the Simple Scrapper again and made it really easy to get going!


MY PROCESS/PRODUCTS USED:
I decided to use this month's embellishment only kit from Studio Calico, so I started with the little rectangle stamp. I had planned to use more from the kit, but since I also got Maggie Holmes' vellum diecuts this month from the SC shop, I ended up using mostly those to fill out the rest of my layout!

Saturday, October 4, 2014

Nice Day

ABOUT THE PHOTO:
This photo was one of Chris' favorites, so I decided to make it 8.5x11 to go into his album - we took Natalie to the mall and forgot to pack her shoes, so we bought her a new pair of sneakers so she could practice walking around the mall!


LAYOUT DESIGN:
I scraplifted this layout by Magdalena!


MY PROCESS/PRODUCTS USED:
I used the paper from the Poet Society kit, then used neon acrylic stars that came in the Process class kit with Catherine Davis from Big Picture Classes. I stamped the border and used the letters also from the Poet Society kit, so quick and easy, I got this done yesterday morning before Natalie woke up for the day!

Thursday, October 2, 2014

Be Brave

ABOUT THE PHOTO(S):
This was the best part of our visit from our friends - watching our girls in the inflatable pool! Natalie LOVED when she slipped in and it happened to be nice, cozy, warm water instead of hose water - she just sat back and chilled out, I'd never seen her do that before! Her friend on the other hand, LOVED the bottom of the pool that was bouncy and inflatable and she was bouncing on her little coolie the whole time!


LAYOUT DESIGN:
The layout was sort of guided by the 3 photos that I had printed 4x3 that I definitely wanted to include in some sort of progression as Natalie is sinking into the water.


MY PROCESS/PRODUCTS USED:
Originally I started with a busy background piece of paper and tried to add those three diecut titles (from the More Bright Ideas class from Studio Calico with Nicole Samuels, created by Geralyn Sy for In A Creative Bubble). The titles got lost on the busy paper so I die cut a black border to go around them, but it still looked a bit too crazy. Then this morning I read the latest article in Spark Magazine from the Simple Scrapper premium membership about white space and decided my page was looking too crazy and busy. I made white space by changing up my background paper to black card stock and allowing it to breathe! Ahhh! The titles now stood out great, so I just added minimal embellishments and some journaling. The paper to cut the titles was from the Printshop collection and the striped piece is from the Brighton Pier collection.

Tuesday, September 30, 2014

Sweet

ABOUT THE PHOTO:
There is just something about Daddies and their daughters that is too cute! Of course Natalie and her friend were a little more interested in getting into that pool with the nice warm water that Chris filled with buckets of warm water from the basement, what a guy!


LAYOUT DESIGN:
I started with an older sketch template from the Simple Scrapper, but ended up changing it once I found those tags to use.


MY PROCESS/PRODUCTS USED:
So I cut up some pieces of paper from the Poet Society kit by Studio Calico but still felt like there was a lot missing. I dove into my stash when I wasn't feeling like the Poet Society embellishments would work for this layout. I found those Dear Lizzy tags and then went with some other Dear Lizzy products, then hand cut a few pieces to go with it! This layout took me longer to complete because I basically had to pull the supplies together instead of just relying on one kit. Hoping I can catch up with my photos soon!

Friday, September 26, 2014

One and Done

ABOUT THE PHOTO:
A few days before Natalie's 1st birthday, I had her sitting outside and gave her a rice cake to try! She nibbled it, mostly sucked on it till it became soggy and gross and I think I tossed it. Later I gave her another one and she bit off a chunk that was too big for her and threw up. ANYWAY, I used this photo for her little birthday message on Facebook and joked how for her birthday she could have a piece of cake... a rice cake that is!


LAYOUT DESIGN:
I was reading Cathy Zielske's blog and she reminded "us" that her digital downloads were on sale for one more day at DesignerDigitals.com. Since I've been meaning to try and follow along with her layouts and buy one of her layered templates for a hybrid page for awhile, I went for it... and bought 6! So this one I chose for this layout is older but perfect for a page about Natalie's 1 year old stats!


MY PROCESS/PRODUCTS USED:
I had already printed out my photo 5x7 so I adjusted the template a bit to make room for the wider photo. This was a page for 8.5x11, but since this is going in Natalie's album and I don't like mixing page sizes, I adhered to a sheet of paper from the Brighton Pier collection from Studio Calico. I also used a piece from that collection to cut out the strip with the numbers on it. I used a few wood veneer pieces from the Lemon Lush collection also by Studio Calico. This layout was fun and easy to make, but very unlike my usual style with a lot more embellishments! I like this page though, because I really wanted to include all the stats in the journaling and have that stand out! I was very pleased with the templates I purchased, Cathy includes a wonderful pdf with each template that explains the fonts she used (and links when available), and other information and tips for the template! Can't wait to try the next one!

Saturday, September 20, 2014

She's Just Relaxin'

ABOUT THE PHOTO(S):
I wasn't sure if I was going to have time to scrap this photo or not, but last night I participated in my first ever "Speed Scrap" with the Simple Scrapper Jennifer Wilson, as part of the ongoing Stash Bash event there! The first step was to choose a 4x6 photo or 2 smaller photos, which almost had me tripped up right away because I had only printed a 5x7 for a layout or 3 4x3 photos that all needed to go on a layout - so I quickly/randomly selected this one and printed it to try and keep up!


LAYOUT DESIGN:
During the speed scrap, Jennifer gave us an ongoing list of things we needed to do or add to our page layout over an hour. I mostly kept up until the list of embellishments haha but it was so fun and I still finished my page relatively quickly!


MY PROCESS/PRODUCTS USED:
I grabbed a sheet of paper from the Poet Society kit and a sheet from the Hello Hello kit, and random embellishments from my stash! I don't normally dig into my stash too much beyond whatever's in the kit I'm using at the time, so it was a nice change of pace - oh and also I don't normally use just plain card stock!! It was super fun, hope to do another one soon!

Tuesday, September 16, 2014

Oh Girls!

ABOUT THE PHOTO(S):
Natalie's friend came to visit us and we were so excited... the girls? Not so much... at least not when we were trying to take their pictures!


LAYOUT DESIGN:
I used an older sketch template from the Simple Scrapper (May 2013) to complete this layout and it came together within an hour once I had the photo printed and the template selected!


MY PROCESS/PRODUCTS USED:
I used just the Sandlot scrapbook kit from Studio Calico. Thanks for stopping by!

Sunday, September 14, 2014

Today

ABOUT THE PHOTO(S):
Woohoo! Another layout done this weekend, that's 3 in 2 days, and this one I completed in under an hour after Natalie went to bed last night! This is Natalie and her little buddies playing at her friend's water table - she liked it, except when water got splashed onto her face haha!


LAYOUT DESIGN:
The design of the page was driven by my photos that I decided to print into 4x6 and see what I could do with them. I don't normally scrap so many photos, especially 4x6, but after getting way behind in my scrapbooking last month, I am trying to do a few layouts now with some more photos. I decided to lay them all to the right and then work with a 6x12 page really.


MY PROCESS/PRODUCTS USED:
I used the Sandlot kit from Studio Calico and in the back of my mind, I knew if I used that pink paper, that I wanted to put the "answers" across the words similar to Nicole Samuels' layout here, but what I didn't plan on was using the small alpha stamp from the Printshop collection to stamp the facts in tiny print across them - I love how that turned out! I was planning on filling in some small journaling onto the metal-rimmed tags but after I adhered them, I thought they kinda look neat as is, and decided to leave them alone!

Friday, September 12, 2014

You + Me

ABOUT THE PHOTO:
Chris and Natalie on 4th of July, awww...


LAYOUT DESIGN:
After my long, unintentional hiatus from scrapbooking, I took the 30 minutes this evening while Chris took Natalie for a walk to speed scrap this layout, making today a 2 layout day, wow!! In order to do quick and easy, I basically copied this layout by Allison Waken for Studio Calico!


MY PROCESS/PRODUCTS USED:
I used the Brighton Pier collection for this 8.5x11 page because it will go across from the last page I made for Chris' album with the same collection by Studio Calico, and it was the collection that Allison used in her video! I used the XO stamp from Amy Tangerine's Plus One collection and stamped over the photo with Jet Black Staz On ink.

Monday, August 11, 2014

Be Happy

ABOUT THE PHOTO(S):
This should've been my first indication that Natalie loves to sit, though I didn't fully realize it till a few weeks later when she sat contentedly in a little chair for 45 minutes at her buddy's birthday party! This was from a play date at her other little girlfriend's house :)


LAYOUT DESIGN:
I used a sketch template from the Simple Scrapper this month, another one based on a layout by Jamie Leija! This one was a 2 pager and I ended up using just one side and was perfect because I bought the 4x6 pad of paper from Studio Calico this month to go along with the Sandlot kit!


MY PROCESS:
So this week I caved and gave up on my CD cases for storing stamps and was able to quickly throw all my latest stamps into 6x8 PL page protectors! It was so quick and easy, even with my backlog going back to January of this year! I bought a Becky Higgins 6x8 PL album from Michael's (on sale for $8.99) and voila, done. So with that in mind I decided to use some of my now organized stamps! I even went as far as to dig up some of those old paper ice cream cone paper clips that were part of February 2013 Front Row kit!

Thursday, August 7, 2014

XO

ABOUT THE PHOTO(S):
I decided to put these "mismatched" photos together into one layout for Chris' album since they were all random moments from July of Chris and Natalie that I wanted to scrap but couldn't make out of a full 12x12 layout!


LAYOUT DESIGN:
I used a sketch template from the SimpleScrapper.com that was based on a 2 page layout by Jamie Leija! I thought the 8.5x11 format would work perfectly for these photos, and ended up printing them 3x3.66 (since I had 3 photos to fit in 11 inches of height).


MY PROCESS/PRODUCTS USED:
It was very hard to cut into that awesome piece of paper from the Brighton Pier collection, designed by Kal Barteski for Studio Calico! But if I like that paper so much I'm bound to like it even better on a layout, so I went to town! I added some wood veneer pieces from the same collection. The paper fringe by Crate Paper came in last month's Penny Arcade kit and the gray tag was the packaging for the Knot & Bow ribbon from this month's Sandlot kit by Studio Calico that had JUST arrived on my doorstep! So yes, it was very hard to not dig into that kit right away instead, but Brighton Pier is still so awesome it had to be used :)

Friday, August 1, 2014

#Staycation2014

ABOUT THE PHOTO(S):
We cancelled our planned trip to Florida last minute in June and ended up on a Staycation instead! It ended up being a good break for our family, even though Natalie was teething the first half of it!


LAYOUT DESIGN:
I basically copied this layout by Paige Evans, because... well look at how awesome it is!!


MY PROCESS/PRODUCTS USED:
First I cut the world map using my Silhouette Cameo with this world map shape I purchased in the Silhouette online store! I used the paper and wood veneer numbers from this month's Penny Arcade kit from Studio Calico, but then used a combination of the Printables by In A Creative Bubble by Geralyn Sy and the free printables by Hello Forever by Marcy Penner that went with the Brighton Pier collection this month to layer around the photos! I just love how the photos are us staying home and the page shows a map of the world and that "Jetsetter" embellishment :)